Screenshots or screengrabs are a great way to capture exactly what is on the screen at the moment. Saving or sharing these screenshots can be extremely helpful for later reference or even explaining something to someone. Taking a screenshot on an iPad is super easy and everyone should know it.
Irrespective of what device you use, Apple lets you take screenshots and save/share them seamlessly.
Take a screenshot on Your iPad
Taking Screenshots differs in different iPad models. So, at the moment, there are two types of iPad devices: ones with the home button and ones without. I will explain how to take screenshots on both types of devices.
See Also: How to use Back Tap on your iPhone?
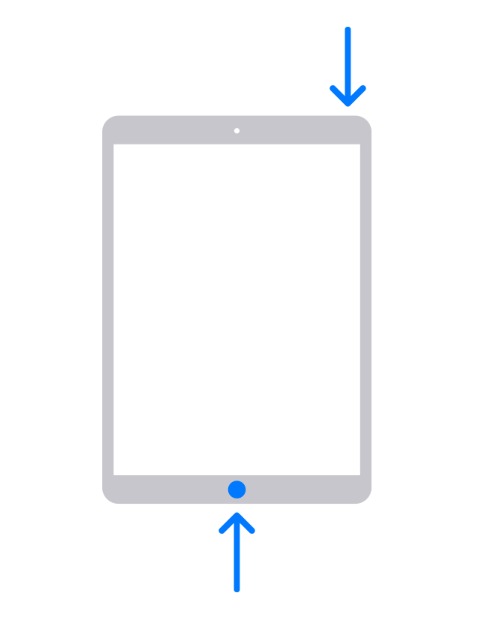
- If your iPad has a home button, press and release together both the home button and the screen lock button which will be at top of the iPad device.
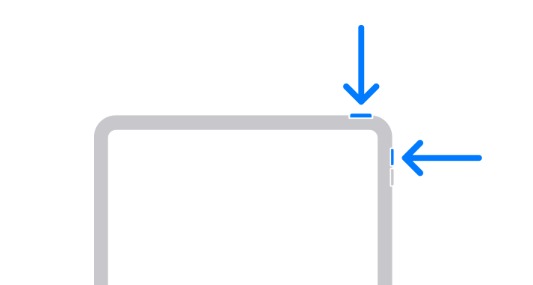
- In case your iPad doesn’t have a home button, press and release together the screen lock (top button) button and either of the volume buttons at the side of the device.
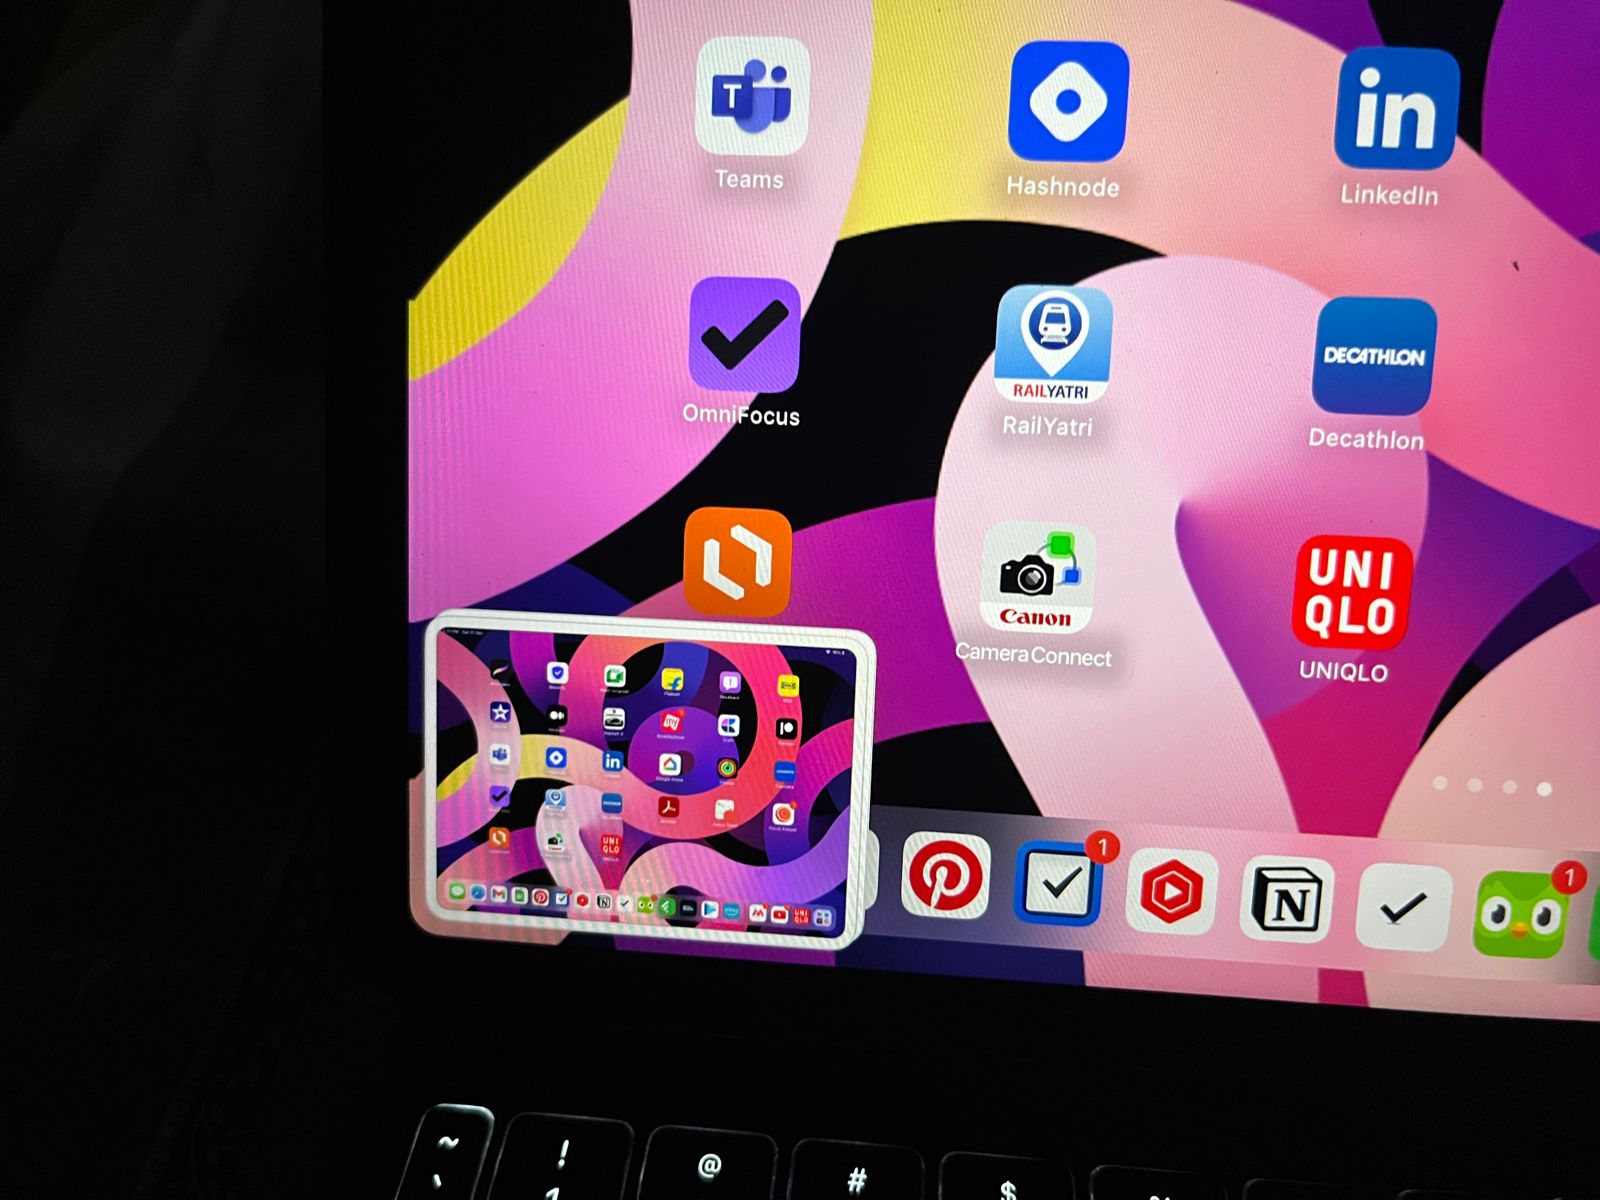
- This will immediately take a screenshot and show you a thumbnail at the bottom left corner of the screen and will stay there for a couple of seconds.
- If you want the screenshot without any edits, you don’t have to do anything and it will get saved in the Photos app.
- But if you wish to make any changes, tap on the thumbnail and you will be taken to the screenshot editor as you see below.
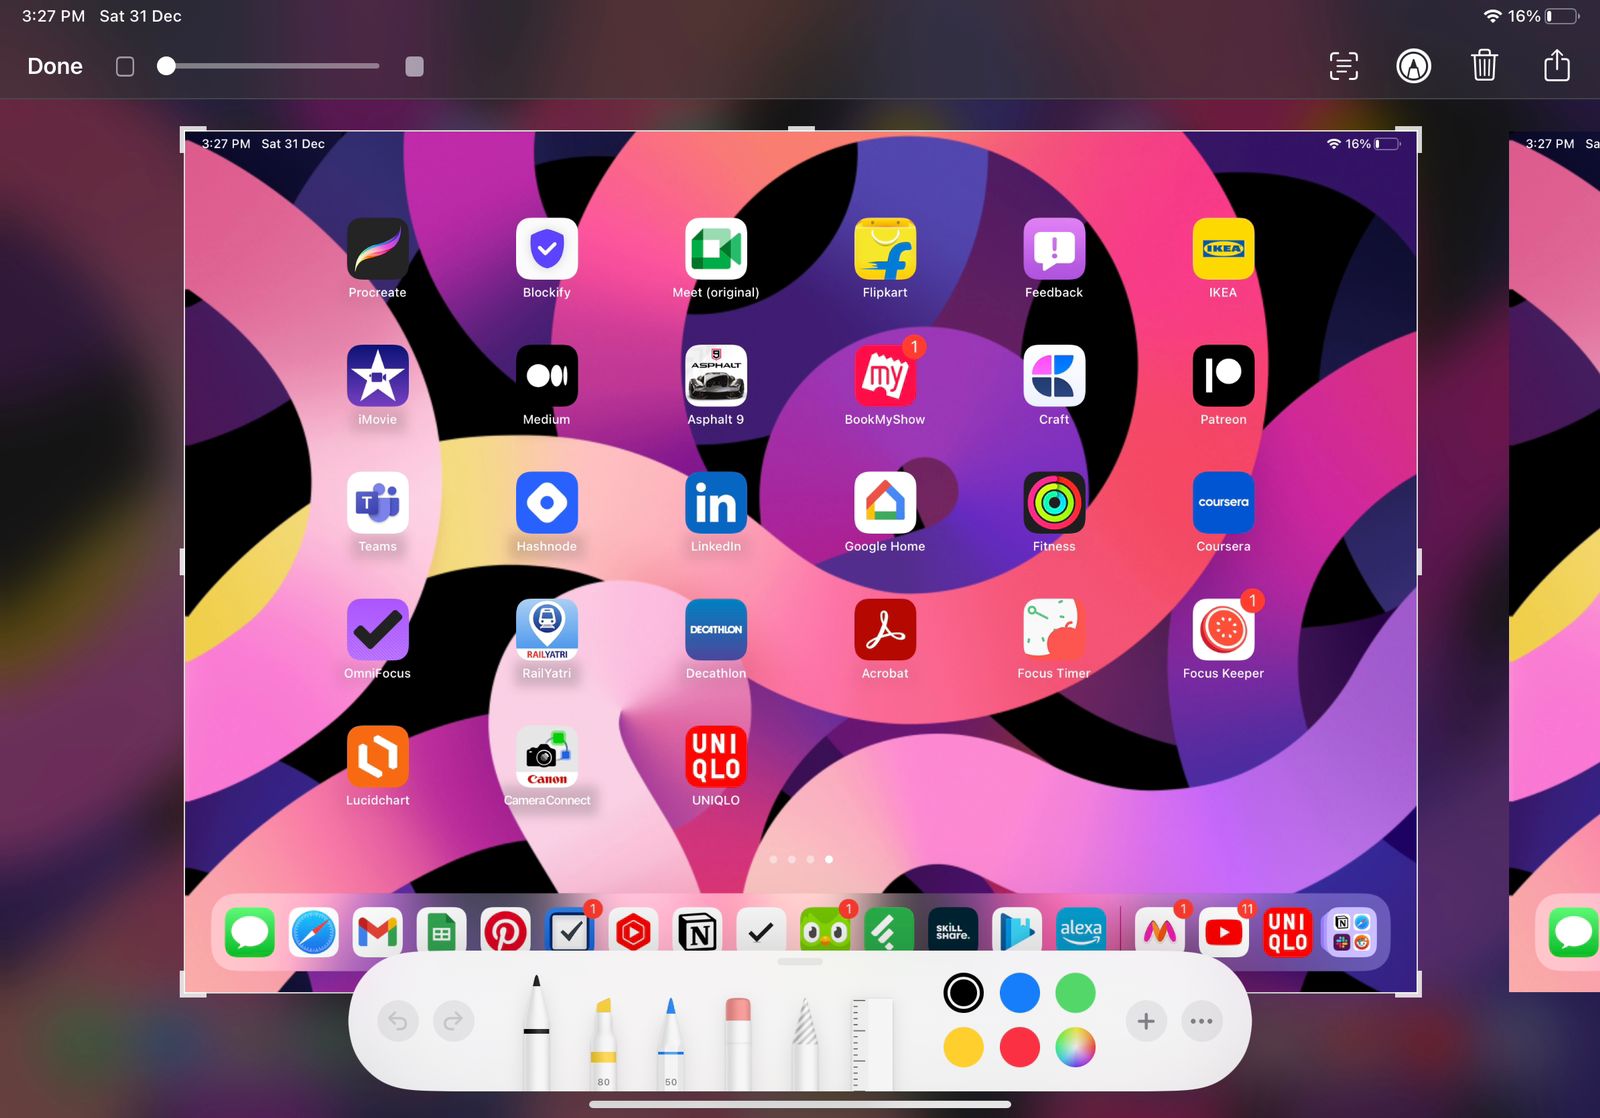
- If you choose to crop a small portion of the image, you can tap and adjust the crop handles on four corners of the image as I have done below.
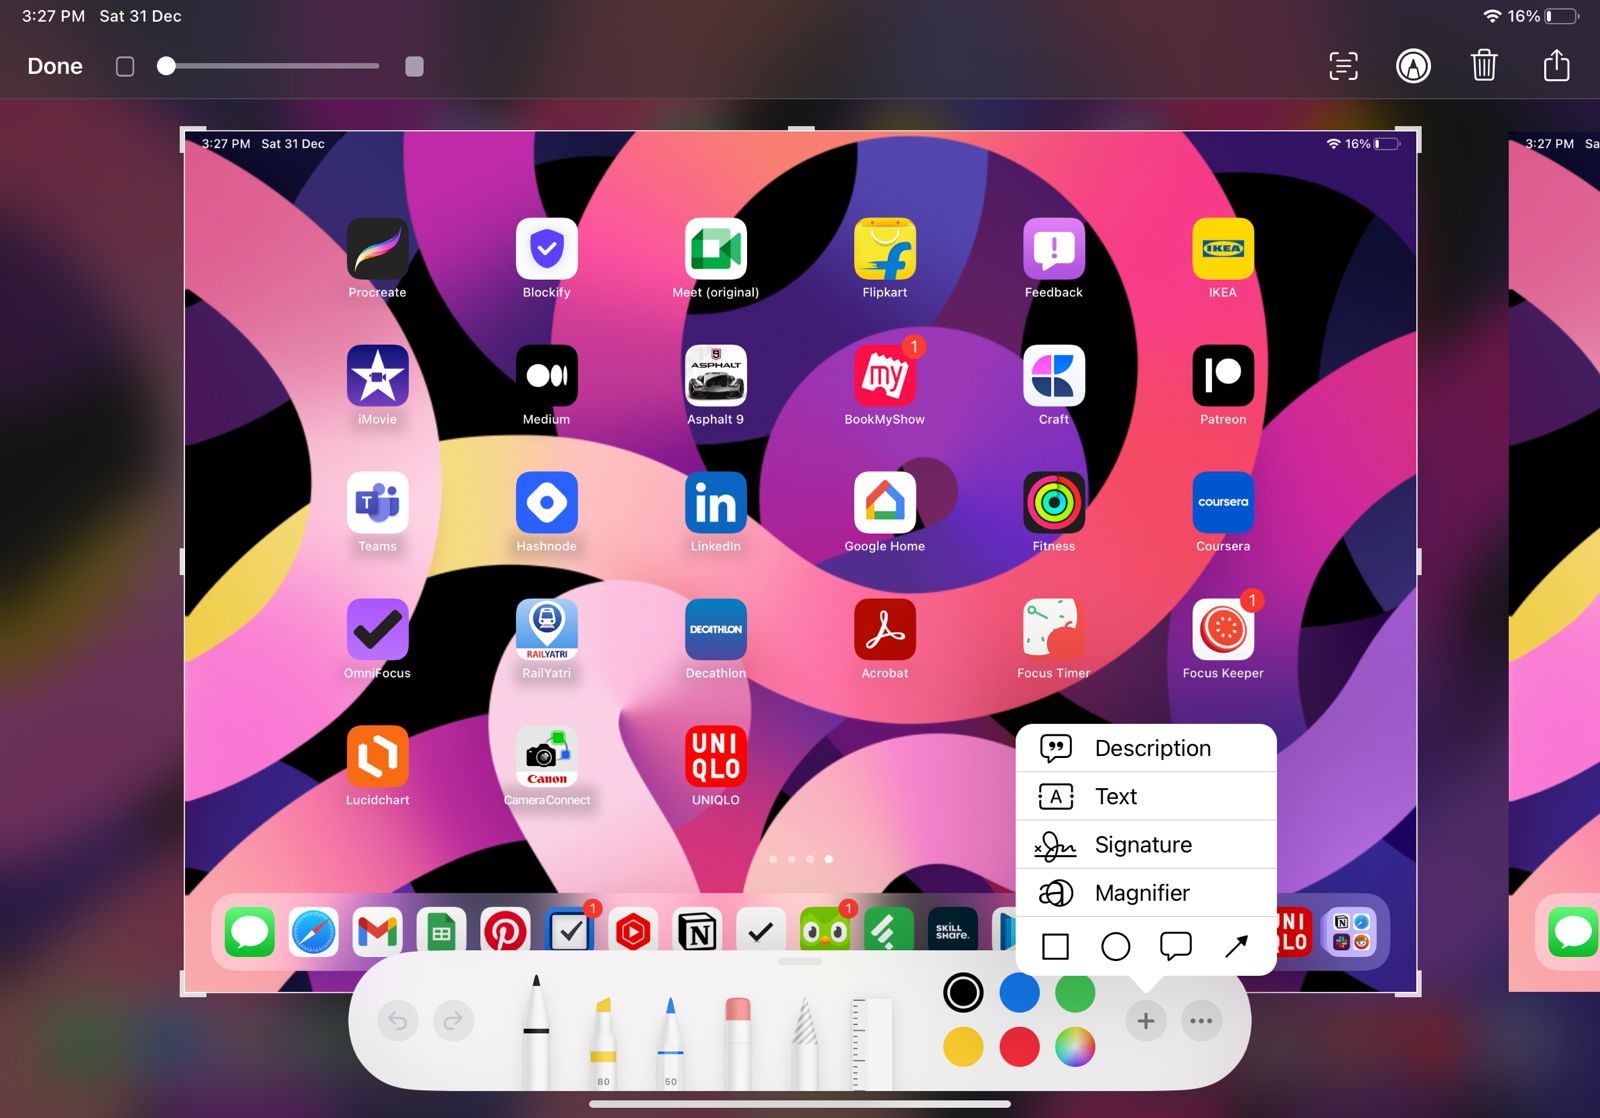
- You could annotate by adding text or using the brushes to scribble/mark over the screenshot.
- There’s even a magnifier option that you can add to the image to zoom a small portion of the screenshot.
- Once you are done with all the changes, tap on the Done button at the top right corner. You will get three different options on how to proceed with the screenshots.
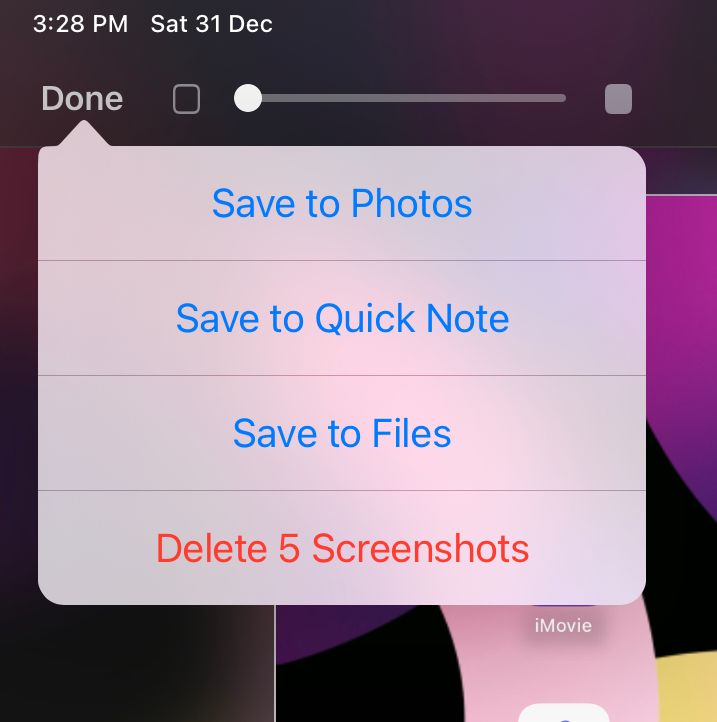
- Choose the appropriate option and that’s about it.
You have successfully taken a screenshot and saved it to the Photos. You can open and access the screenshot whenever you would like.
Screenshots work everywhere on the iPad except in one scenario. In case you are trying to take a screenshot inside a certain application, if the app developer chooses the contents of the app not to be screenshotted, then you might be stopped.
Screenshots are the only reason why I’m able to clearly explain step-by-step in articles like these articles. Millions of people across the world are taking hundreds of millions of screenshots every single day. So, there’s no debate as to whether it’s useful or not.
How many screenshots do you take on a daily basis? Do let us know in the comments below.
